
Where creation meets experience.

To get back into the groove of 3D modeling, I followed BlenderGuru's tutorial on how to create a donut and coffee using Blender. Made in Blender 2.82.

After browsing through a list of Twitch offline banners available to users, I decided to create one of my own.

This is one of several layouts I designed to use for streaming games on Twitch. This particular layout is for Pokemon Silver.

An old paint by numbers painting that I never quite finished by hand. After taking a few pictures involving the unfilled layout of the picture and the colors needed, I gradually brought it to life using Photoshop CS6. This project involved needing the Pen Tool, my drawing tablet, the Gradient Tool, and the Eyedropper. Since much of the painting involved combining two colors together, the Gradient Tool was crucial in finding new colors within the mix.

Lately my dad needed me to create a current model of our house with a slight addition to the front. This project became very easy once I got the dimensions from an old floor plan he had.
One of several props I created for a game I helped develop alongside a small group. Mesh made in Blender, texture applied from Substance Painter.

One of several props I created for a game I helped develop alongside a small group. Also in Unreal Engine where it was imported, I animated the blades using a few tweaks. Mesh made in Blender, texture applied from Substance Painter.

One of several props I created for a game I helped develop alongside a small group. Mesh made in Blender, texture applied from Substance Painter.

One of several props I created for a game I helped develop alongside a small group. Also, the left barrel has more polygons than the right, but with textures it's hard to tell. Mesh made in Blender, texture applied from Substance Painter.
One of several props I created for a game I helped develop alongside a small group. Mesh made in Blender, texture applied from Substance Painter.

The ornaments were drawn in Adobe Illustrator CS2 then transferred to Photoshop to fill the festive background and add a few filters.

This was for a friend awhile back. With the help of his sketches of each door knob and deadbolt, I was able to model and render them nicely in 3D Max.

Completed version of the car with textures and lighting. I've been wanting to create a model of this car for a long time. I started in 3D Max years ago, where unfortunately I got to only the stainless steel body and the windows before 3D Max unexpected crashed one day and corrupted the file. Recently I felt confident enough to try something of my own in Blender, so I tried again at making the car.

An older project I completed a couple years ago of a science lab webpage designed in Photoshop CS2. Since this version of Adobe still has ImageReady, it would involve creating slices at places that would indicate likely active links for easy navigation about the site. The smaller images seen throughout are other leisure Photoshop projects I've done over the years to show my various techniques.

This floor plan was already done by someone else who constructs similar plans for medical buildings. All I did was stamp the red markers, drew the different-colored outlines, and removed some of the already existing markers for my dad's installation project. Done in Photoshop CS2.

A specific outer space banner that can be used as forum signature banners or simply as a header.

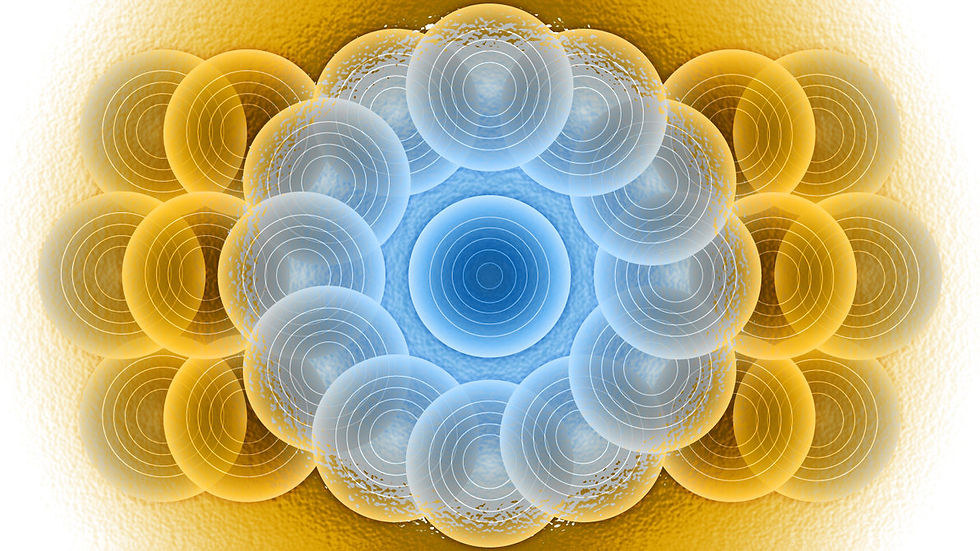
It's amazing how fun it is to take simple shapes in Adobe Illustrator and sort them out to make something plain but beautiful. There is both a 4:3 and a 16:9 ratio scale version of the same artwork for desktop wallpapers.
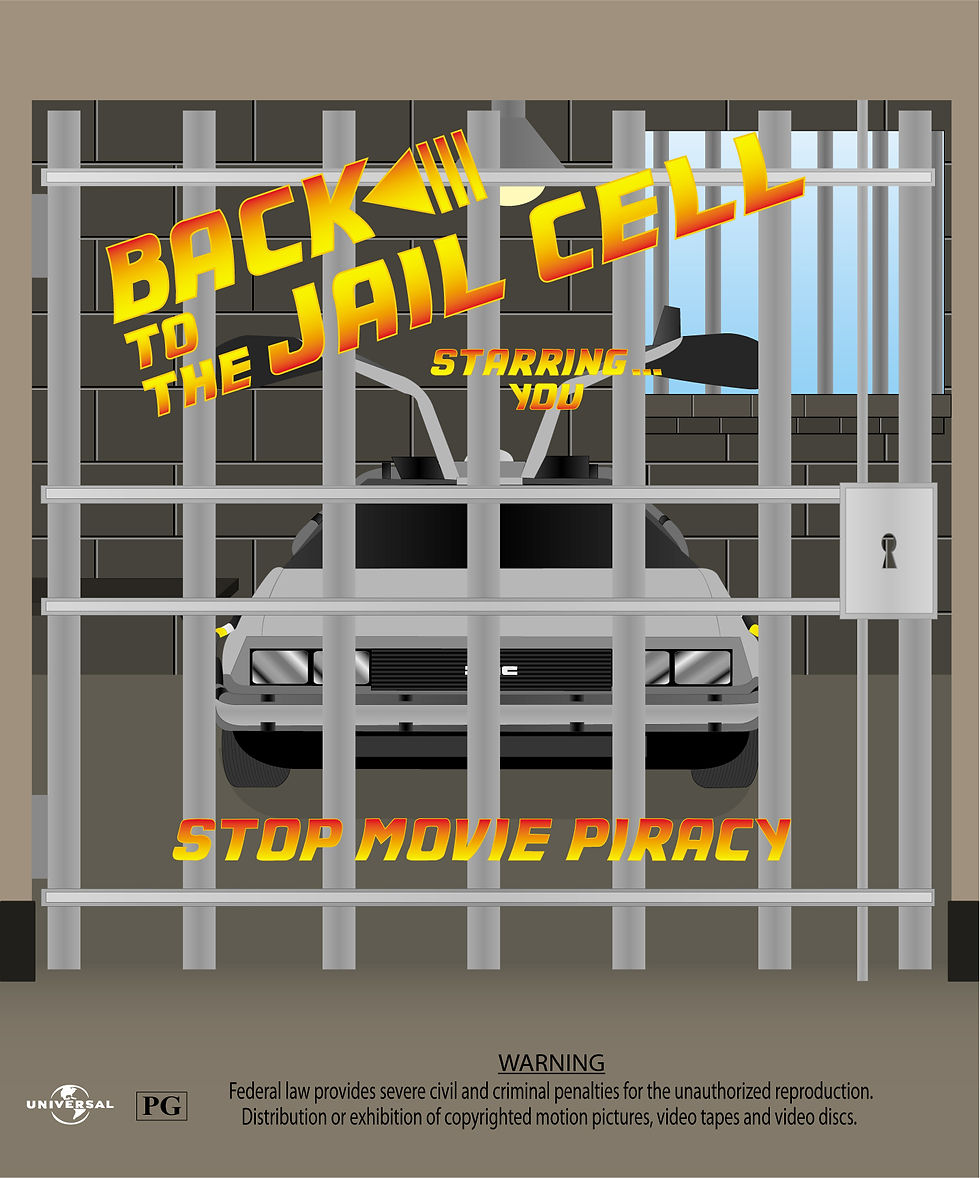
A project done for one of my graphic designer classes in Houston Community College. We were supposed to design a poster that was for or against a certain subject. In my case, it's against movie piracy, and I wanted to include the DeLorean time machine in my poster. This was completed in my Adobe Illustrator CS2.

This is a photo I took from my vacation to the north rim Grand Canyon over six years ago, and created an oil painting effect to make it look as such using Photoshop CS2.

Using another of my photographs from my 2010 vacation, I created an effect to make the photograph appear much older than it actually is and on ancient photo paper. I believe this tree was at the Canyon de Chelly in Arizona but I can't fully remember.

Another 2010 vacation photograph I took and tried out another effect to make it appear very old and worn in sepia tone. Done in Photoshop CS2

Lately I've been interested in trying to restore old photographs to their former glory and even improve on that. This was good practice for my first restoration. Done in Photoshop CS2 , I used the Spot Healing brush and the Clone Tool to clean up the scratches, dust and splotches. Then I made several adjustment layers to give the photograph color. I used the paintbrush tool to paint in most colors; however, with the carpet I used the Pen Tool to apply its color onto every visible spot.

Scratches, holes and other crud were removed using either the Healing Brush tool or the Clone Stamp tool. For those big splotches, it involved using Brightness and Contrast to match with the surrounding area after the photo's been unsaturated, followed by using the Clone Stamp tool to blend in any slightly lighter or darker parts. Then using layer masks in separate layers, the picture was colorized.

This picture was a bit more challenging than the previous ones. It first involved with using the Brightness and Contrast a few times to get it not so flushed out in intense light. Removing the holes and scratches was the easiest task. Then I had to guess where to color various places due to the background being increasingly blurry, even when the Sharpen filter was applied a couple times. I also went into a little research to find out accurate colors for the soldier's uniform.

A crystal cave done in Blender 2.76. Sorry if it does appear quite dark with only the crystals providing light, but then again caves are naturally pitch black. Heeding BlenderGuru's steps on how to create a cave, I designed the entire cave and its entities myself. I even wanted the miniature stalactites on the ceiling to emit a faint glow.

Done in Blender 2.6.3. Apart from BlenderGuru's tutorial version, I've made a few changes to my scene. I used other seamless textures that are free to download, I designed the pipe fixed to the ceiling differently, and I added air vents. Also, I wanted to add a light-red glow to some of the switches and buttons on the side panels to give them a bit more life.

My first project from Blender. Followed a tutorial from BlenderGuru on creating it, and I must say I did well for a novice user.

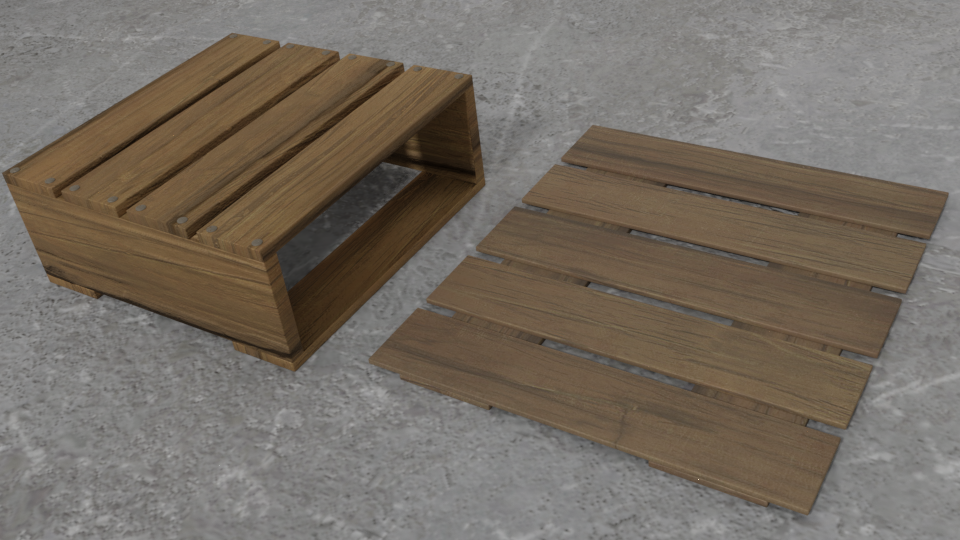
This project involved placing the different textures on these old boxes to make this warehouse appear less hollow.

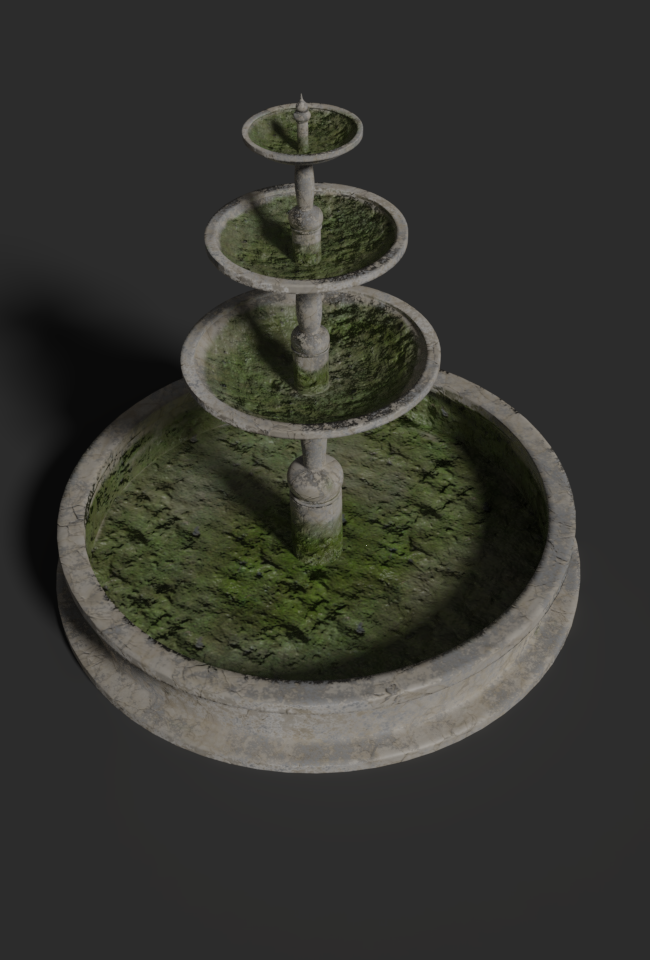
A midterm project back in college which included a body of water as the main focus. Sure looks dismal and mucky, doesn't it?

Technique involving using mental rays, the skylight, and an artificial sun to create this effect in an empty warehouse.

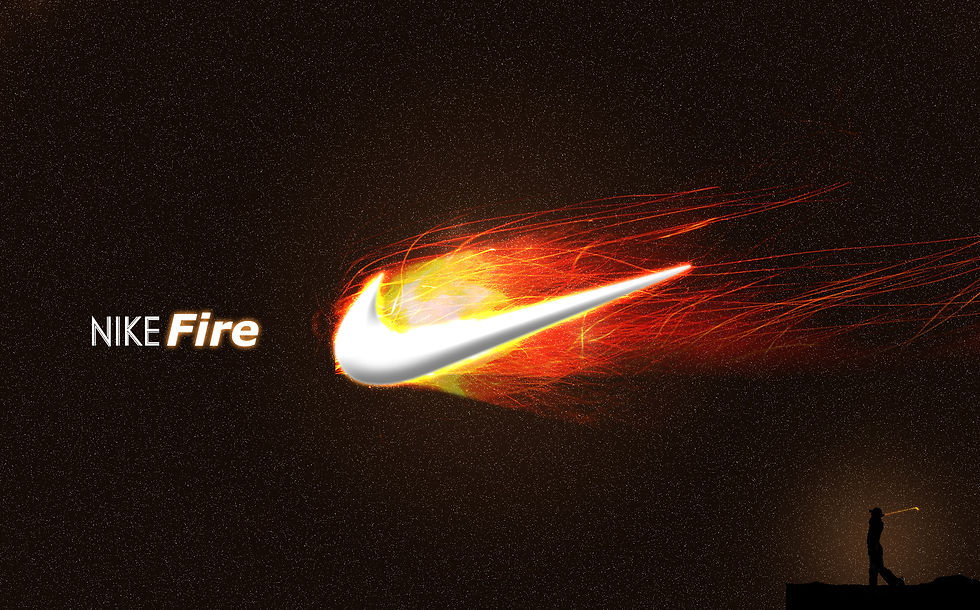
On the bottom-right, the golfer is supposed to look like he's hit the Nike logo and the logo is on fire from the intense speed in the air.
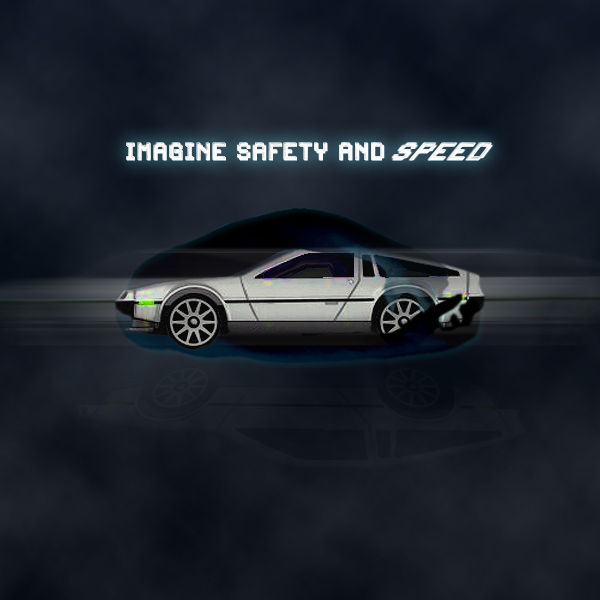
Done in Photoshop. I used an image of a Hot Wheels DeLorean from Google for this project instead of the stock car. The car had its layer duplicated a few times to give it some blur to show its speediness. The darkness surrounding the car describing its safety are really arms from a muscular guy in a photo.

A quick typography project.

Something I made over a year ago in relation to the name of a private server I used to play in.

Just wanna say happy holidays to you all. This quick little scrap of art I finished is another Cars concept with my dream car again. This time, the DeLorean has the temptation this holiday to enjoy a bottle of coca cola and wish you all a happy Christmas. The coca cola idea came from those Christmas commercials where the polar bears drink a bottle.

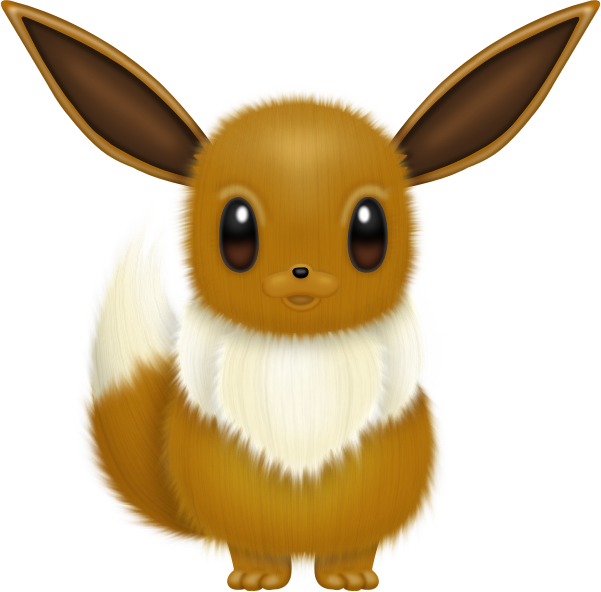
After watching a couple Let's Plays of Tattletail videos on Youtube and buying the game on Steam, I was inspired to create an identical concept art of the baby talking Tattletail as an Eevee. Eventually I will finish all the Eeveelutions and they will portray Mama Tattletail, whereas Eevee will be the only baby toy.
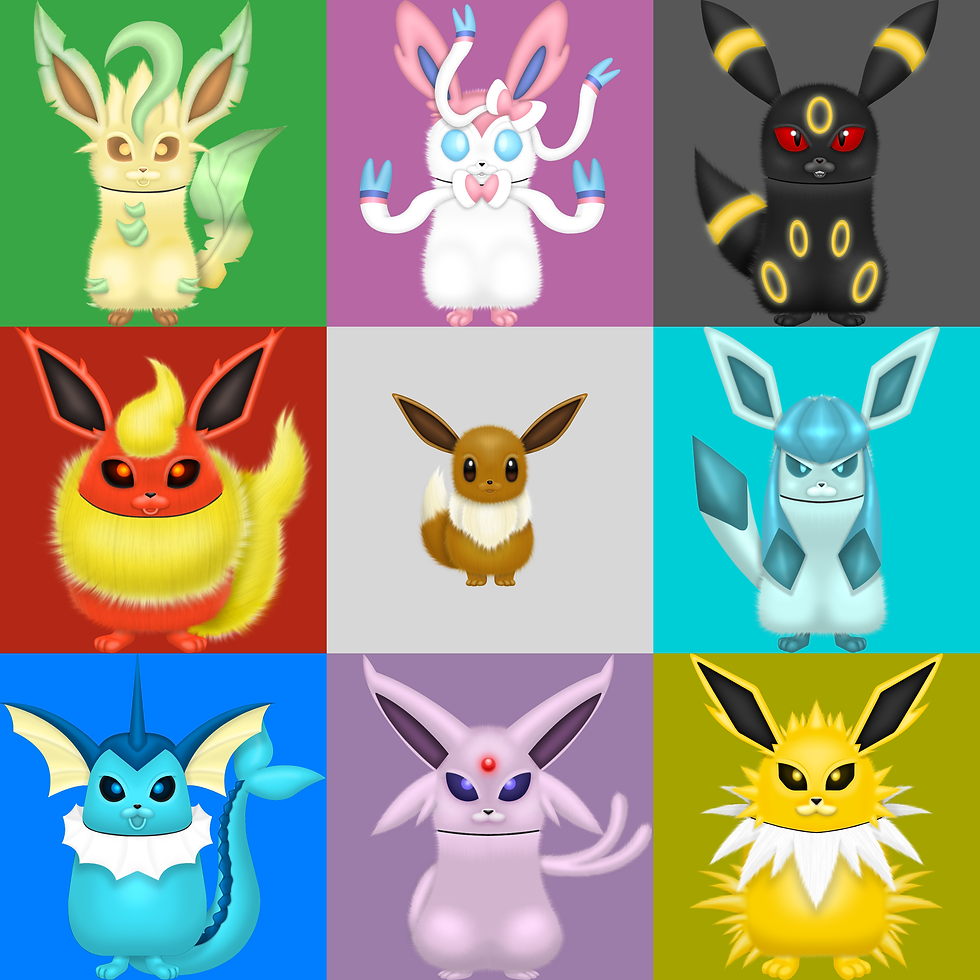
With the entire Eeveetail family completed, I went ahead and merged them together into a family square. All the Mamas have been resized to fit the 1000 x 1000 enclosures they're settled in, as Glacitail and Leaftail especially were smaller than the others. The Eeveetail I retained its current size. This sure was a fun project to dive into, and I may come up with more Pokemon/Tattletail merges in the future.
A simple geometric desktop background on a widescreen aspect ratio. I also created a 4:3 for those who still have box-like monitors like myself.

One of the Valentine's Day card designs I created for 2017. Can also be for any the following years after.

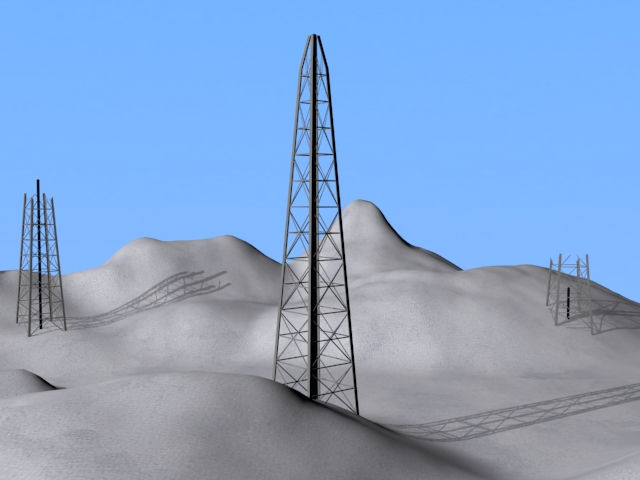
To have another shot at creating a seamless environment, I did a desert landscape this time. This inspiration came from several sources, mainly RPG-style games like Final Fantasy and Quest 64.

In inspiration to Pixelmon, which is a Pokemon mod in Minecraft, I wanted to create a model of a Pixelmon that already exists in the game but needs improvement. Thus, here is a Zubat. After learning a trick online, I found out how to make the textures much more realistic on the Zubats by using Photoshop CS2 without any parts appearing stretched and distorted. On top is the normal skin Zubat; below is its shiny form.

To get in some more practice, I modeled a character from Kirby 64 on 3D Max. The skin applied to the ice dragon were done from a UVW Unwrap template, which I applied color and texture over using Photoshop CS2. I used a front and a side original 2D images of the dragon to upgrade it into 3D.

These bottles and glasses are part of my Enclosure Bar scenery.
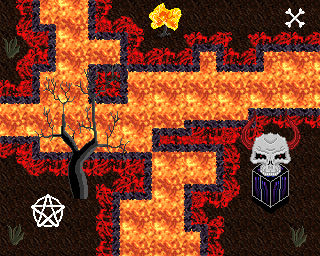
For my gaming art midterm, I created environment art with seamless textures to define the scenery.
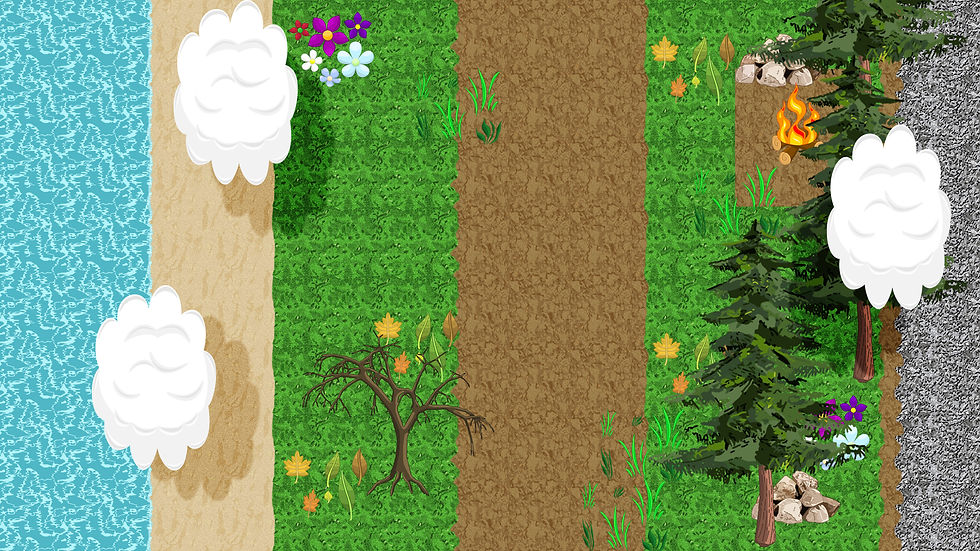
I created a non-pixel art design based on the type of genre I decided on, plus I wanted to create eight props for the scene.

